You have /5 articles left.
Sign up for a free account or log in.
Emily VanBuren is a PhD student in History at Northwestern University. You can find her on Twitter at @emilydvb or at her blog, dighistorienne.

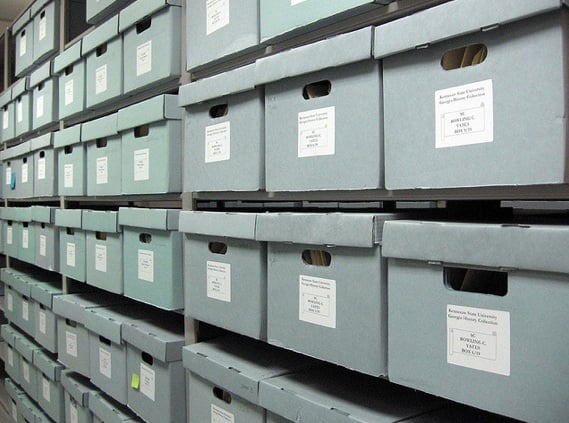
As an historian, I spend a lot of time in the archives, rifling through dusty old boxes in search of treasure for my dissertation. Learning how to do archival research has been an exercise in learning to work more efficiently. Because grant budgets can only go so far, it’s important to make use of every minute when visiting faraway libraries and repositories, capturing as much information as possible to bring home with me. Here at GradHacker, we’ve featured many tools for organizing your research data once you’ve already collected it. But for the other humanists and social scientists out there, I thought it was worth sharing a few pointers for actually gathering the information in the archives to begin with. Here are a few of the gadgets I rely on to make my research trips productive (and posture-friendly):
Apps for managing finding aids: I like to use a combination of two apps to keep me organized when heading into the archives, so that I can keep track of which items I need to examine, which items I’ve already seen, and any notes I want to make. First, I store a copy of the finding aid for each collection in GoodReader on my iPad in PDF format, which allows me to annotate each one easily, highlighting boxes I might want to see and making notes next to each item about what I’m hoping to find. I organize these finding aids by institution, so each repository gets its own folder in this app. Next, I use trusty old Google Drive to make a master plan for myself and stay on task, creating a basic spreadsheet to list each box/folder/item I’d like to call up from storage. I also log the date I examined each item, and make small notes about anything that jumps out at me.
Camera: I switch back and forth between a DSLR with a display screen and my iPhone, depending on what sort of resolution I need to capture. Several of my colleagues have recommended checking out refurbished DSLRs to save some cash. I use a DSLR most of the time, but I find that as long as I’m just photographing text documents (and not images or objects that I might want to feature in a publication someday), my phone does a fine job. The only problem I’ve encountered is when I need to run OCR on old typewritten texts (especially from newspapers), because the image resolution in my iPhone photos doesn’t always make the printed letters crisp enough. If you suspect you might like to run OCR on any older, faded texts you’re photographing, I’d recommend using an actual camera.
Wireless SD card: I usually transfer my images to my computer the old-fashioned way, connecting my camera to my laptop, then dragging them straight into Dropbox. But after catching a few blog posts about wifi-enabled SD cards, I’m thinking about giving them a shot. Eyefi, for example, makes an SD card that fits right into your camera and then, via wifi, automatically uploads your images to your phone (and even the web) as you shoot them. The point is to make your camera operate more like your smartphone, making it easy to share images instead of relying on cords to upload them to your computer. Eyefi comes in two varieties (Pro X2 or Mobi) and four sizes (4, 8, 16, and 32 GB), and begins at about $45 on Amazon.
Table grip: I highly recommend investing in a table mount for your camera. First of all, your back, neck, and shoulders will thank you, because it will save you from having to keep your arms elevated (and often in an awkward position) to continually snap photos. Second, the images of your documents will come out clear and perfectly-framed, because the table grip will keep the camera steady and at the proper angle. It’s also a good idea to carry around a piece of paper, to position under the grip in order to prevent leaving any marks on the table. (See also this post from ProfHacker on constructing your own articulated arm.) Alternatively, you can opt for a tripod, but I find those a bit less convenient both when it comes to looking at the display screen and when it comes to shooting large-size documents. And if you’d rather use your smartphone than a camera, you can even buy a table stand for your iPhone. If you prefer a tripod, you can find dozens on websites like eBay and Photojojo.
Remote control: In order to use the table grip efficiently, I also rely on a simple remote control. This means that once I have my shot focused and the boundaries of my frame all sorted out, I can zip through my items really quickly. I just place the document on the table within the parameters of my frame (which I mark out with scraps of paper), grab two snaps with my remote control (I like the extra one for good measure), return the document to its folder, and move on to the next one. I use the remote that comes with the camera, but you can try this approach even if you are relying on your smartphone. You can pair your mounted iPhone with a Bluetooth device (like an Apple wireless keyboard or a remote), or even plug in your headphones and use them as a makeshift remote control, squeezing the volume buttons to release the shutter.
Scanner apps: ProfHacker featured a post on digital workflow in the archives last year, and the author recommended using Turboscan, an iPhone app that allows you to convert images to PDFs. I’ve tried Scanner Pro for basic 8.5 x 11” text documents, and I especially like that the app automatically detects the proper edges and corners of the document, and that it syncs easily with Dropbox. And for $2.99 (on sale), it’s grad-student-budget-friendly. If you feel like spending a little more (about $6.99), you can also try PDFpen Scan+, which not only scans documents but also runs OCR and converts them into fully-searchable PDFs.
I’m always trying to streamline my archival workflow in order to squeeze more productivity out of my research trips, but a combination of these tools seems to do the trick pretty well. This system allows me to collect data as quickly as possible (which I then import into the database I’ve set up in DEVONthink Pro Office), so I can save time and energy.
What tools and gadgets do you like to use when researching in the archives?
[Photo courtesy of Flickr user Anne G via Creative Commons license.]


