You have /5 articles left.
Sign up for a free account or log in.
Heather VanMouwerik is a doctoral candidate in Russian History at the University of California, Riverside. Follow her @hvanmouwerik or check out her website.
I was woefully unprepared to create my first online lecture. I was also enthusiastic and naively optimistic, so I embraced the challenge and ran headfirst into a load of trouble.
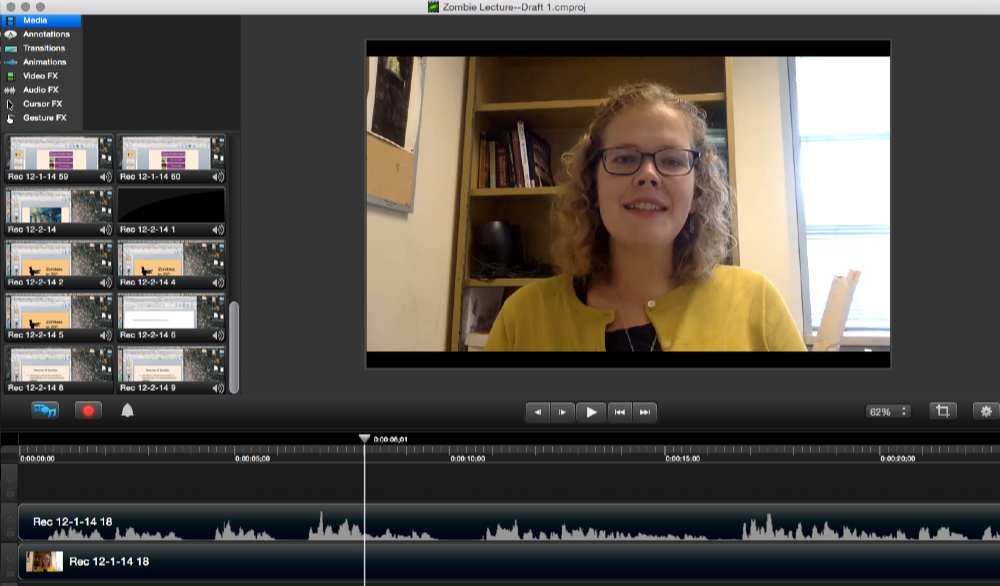
The professor for a historical methodologies course asked me to write an introductory lecture on the history of zombies in popular culture. I was given a free reign on the lecture’s content, a copy of Camtasia (video editing software), and a deadline. As with with every lecture I had written up until that point, I started with an outline and a nice PowerPoint presentation, which I then filmed.
It was a mess!
Not only did it take me ten hours to get the film just right, the lecture itself was dull, and its pace was lead-footed. I ended up scrapping every second and starting again. The problem, looking back, was that I tried to make a traditional lecture fit into the digital medium. What works in the classroom, I learned, does not always work online. Before I could create an engaging lecture, I first had to come to terms with my medium.
With this early failure in mind, I wrote a list of commandments that I use in preparing my video lectures. Although there are several types, from live streaming lectures to audio-only podcasts, this list is most applicable to prerecorded video lectures.
1. Be Vicious with Your Outline: Once you have an outline prepared, cut it in half. No seriously, in half. Online lectures, as a rule, should be significantly shorter than their physical counterparts. Offline lecture outlines include 1) places to pause, allowing students the opportunity to take notes, 2) extensive signposting of key themes, ensuring that students understand how the material fits together, and 3) repetition of important details, emphasizing material the students should understand. None of these things are necessary in online lectures—videos can be paused and replayed as many times as necessary. I promise that once all of that dross is removed from your lecture outline, your video lecture will be smooth, succinct, and shorter than you would expect.
2. Be Bold and Show Your Face: Yes, filming yourself is uncomfortable. And, yes, editing is worse. Nevertheless, online lectures should include at least a few minutes of your face. Students benefit, because it provides an opportunity for them to connect with you—your face, your gestures, and the way you move. In addition, slide presentations are boring, regardless of whether you are in classroom or at your computer. Instructors benefit, too. First, making “eye contact” with the camera has the same effect on video as eye contact with students has in the classroom. It forces you to think and not recite, use your voice to convey emphasis, and embrace the embodied part of teaching. Second, my self-confidence in the way I look and sound has gone up considerably. Although nerve-wracking to start, you quickly become desensitized to your own image. I am now more comfortable in front of a camera, which has allowed me to grow as a person in ways I did not imagine.
3. Be Minimal in your Editing: For that first failed lecture I set up my video camera and microphone laptop and filmed the content in about an hour. Thinking I was a rock star at this filming thing, I started editing… and editing, and editing. Each edit I made begat more editing. More than five hours later, I had a wonderfully edited monstrosity! Once you learn how to clip out every “ummm” and half cough, it is tempting to make your lecture into perfection. Resist that urge! Not only is over editing a time sucking black hole, it is a problematic stylistic choice. The same rationale behind filming yourself applies to your vocal tics, turns of phrase, use of pauses, and silly slips of the tongue. You are human, and your students connect to that humanity. Keeping in a few of these foibles reminds them that you, too, are not perfect.
4. Be Creative in When and Where to Use Your Lecture: Although I am referring to these videos as lectures, do not let the moniker limit your creativity. They can be anything you want them to be; they can fill any role and serve any purpose in your course. The aforementioned zombie lecture was not only my first, it was also very traditional. Students were meant to watch it at a certain time and in relation to particular reading material. Since then, however, I have experimented with using these films in less traditional ways. This summer, for example, a few of my students were confused about how a reading tied into lecture. Not wanting to use class time to address this issue, I filmed a short lecture and posted it on the course website. I have also used video lectures on days I have had to cancel class. Rather than waste a day, I filmed a short lecture and posted it online.
Helpful Links and Inspiration
- Anastasia Salter offered some great advice recently about online lectures. Although I disagree with her about the importance of showing your face, she does a great job describing the prep work that goes into large online classes.
- Managing student expectations is a big issue, too. If you are still unconvinced that short, brief, and targeted online lectures are the way to go, then check out Ellen Wexler’s take on recent research into how people learn online. Although students think they want extensive video lectures, the efficacy of this model is debatable. This pairs nicely with Peter Stoke’s inspirational discussion of the online learning and digital strategies divide.
- On the tech side of things, this account of universities setting up filming studios for their instructors has made me very jealous!
- The comments section of this article is a treasure trove of inspiration. Scroll down for a lot of different takes on video lectures. And, although not an online lecture, per se, I’ve gotten a lot of inspiration from the Field Museum’s Brain Scoop (I aspire to be Emily Graslie! But with history!)
Once you have been inspired, created a place for a video lecture in your course, and made a plan for the lecture’s content, then it is time for the fun to begin: choosing the tools and technology to make your vision a reality. A topic for another post, so stay tuned!
Have you come across a great example of an online lecture? Do you have any pre-filming preparations that you have found useful? If so, please share them in the comments! I am always looking for more ideas!
[Author’s Image]